|
5/23/2016 0 Comments Food Specific For this project i used a dome plaster and placed clay over the plaster, i then began to roll the clay to make a thinner layer that was even. After i let the clay become plastic, i took the plaster off and flipped the plate. Then i took clay and rolled out some extra clay and used it to make a tiny bowl like thing in the center of the plate. creating a chip and dip bowllllll!
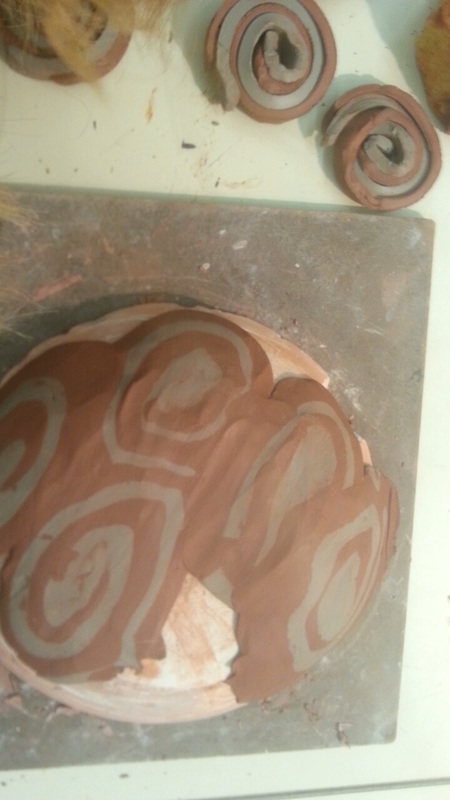
5/4/2016 0 Comments colored slip projectFor this project i took colored red/brown clay and your average grayish clay wedged and put both in the slab roller separately, I then took both slabs and cut strips i took one of each and placed them on top of each other then rolled them up kinda like a cinnamon roll. after i made like 8 of them i took each one separately to the slab roller creating marbled effect. Now i then placed all marbled pieces on a dome bowl/plate thingy and started to roll it out creating an even texture all around. i would love to further myself and try the wheel.
4/25/2016 0 Comments April 25th, 2016Colored slip inspiration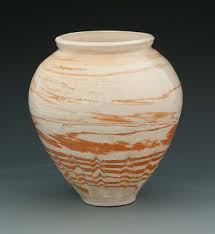 Piece by Taras Telyatinskiy
showing a common method of marbling. Taras inserted a few strips of red clay into a ball of white clay, then threw the vessel on the wheel. The spinning action of the wheel twisted the red clay into spirals as Taras pulled the clay up. Can we achieve this? Yes simply by combining 2 different colors or clay and throwing on the wheel or by wedging. 4/24/2016 0 Comments lidded vessel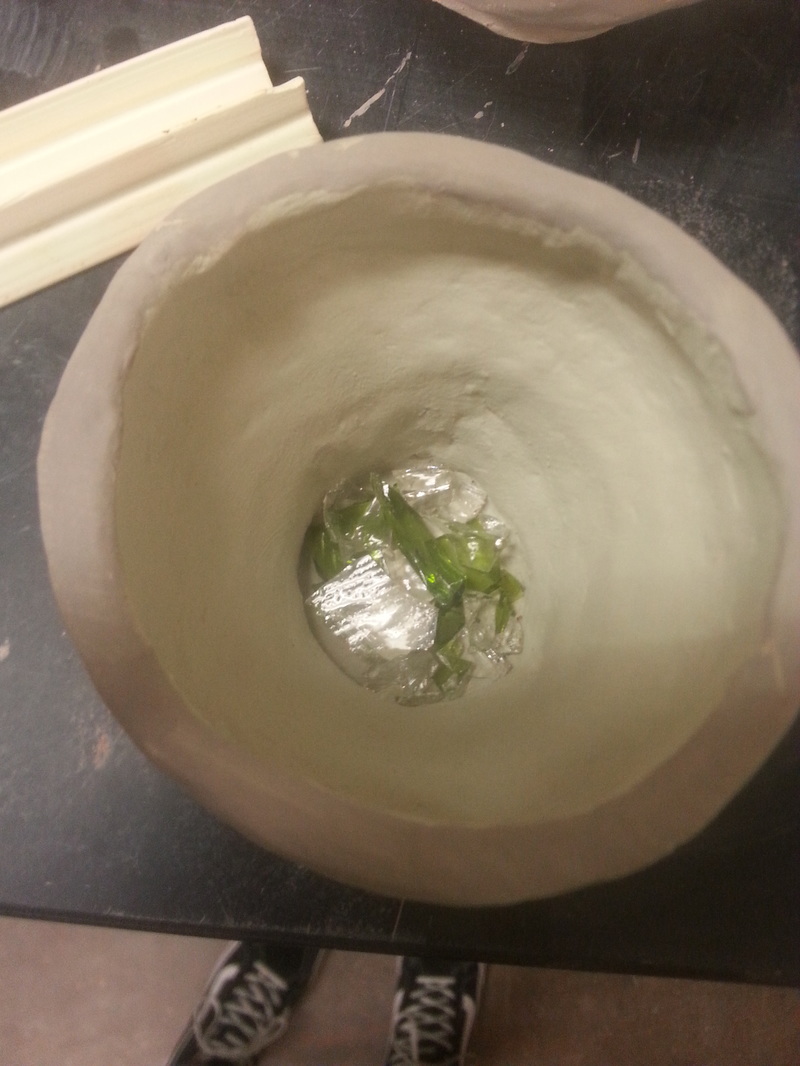 For this project I am using the coil technique and it turned out a lot better then i thought. i learned using plastic clay to make your coils it better then having wet clay, it doesn't stick and is easier to apply. I also learned placing newspaper inside your vessel gives it more support so it doesn't sink. with the lid i simply put my clay in the slab roller and cut out a smaller circle so it fit's inside the vessel, i then used strips/coils and wrapped them around the circle and after i got it as high as i wanted it i then twisted 2 strips of marble clay i had previously and stuck it to either end.
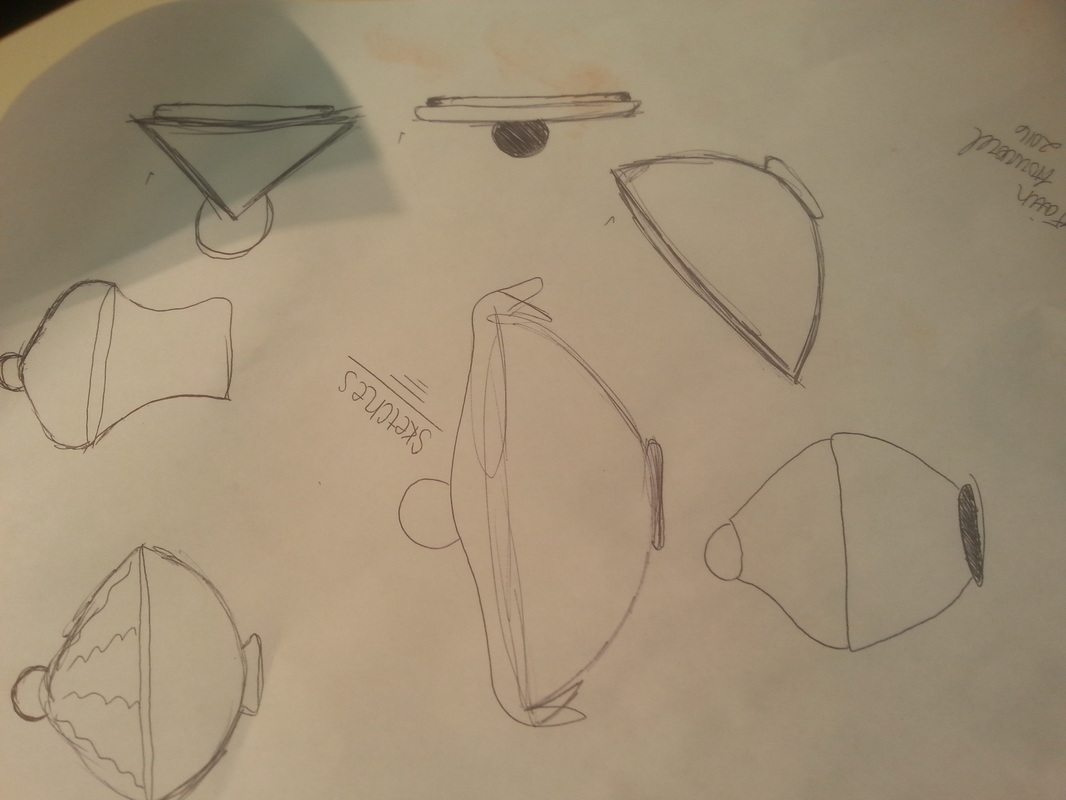
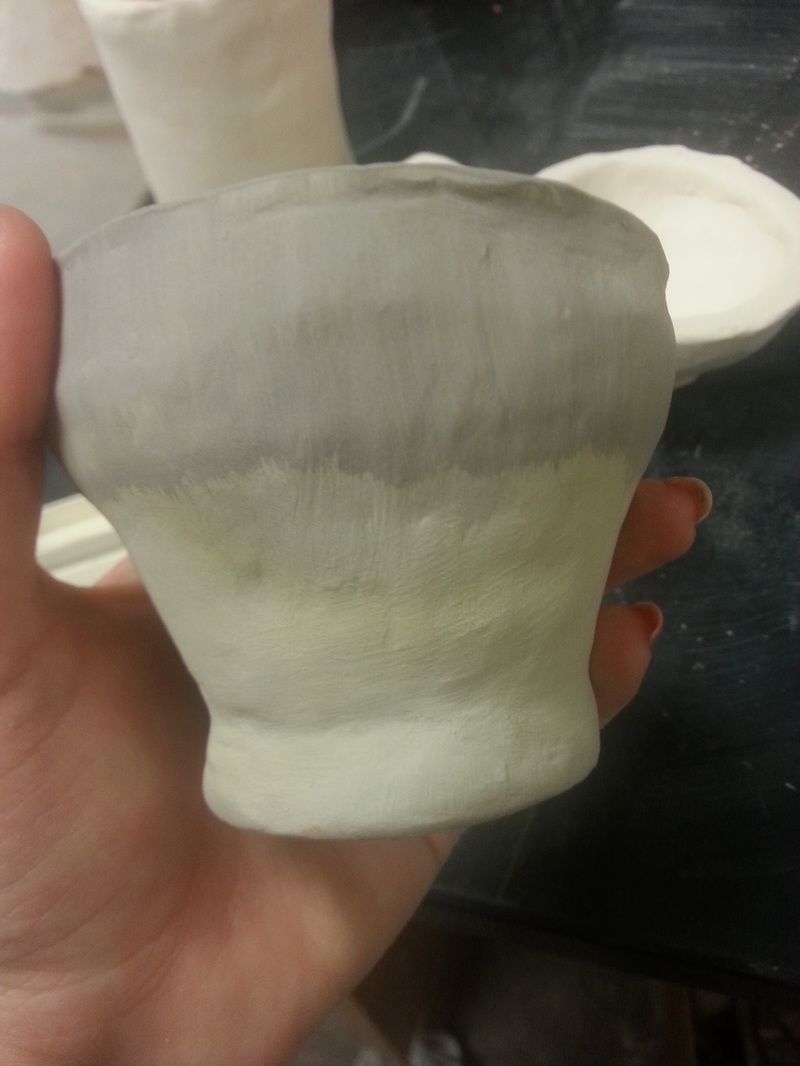
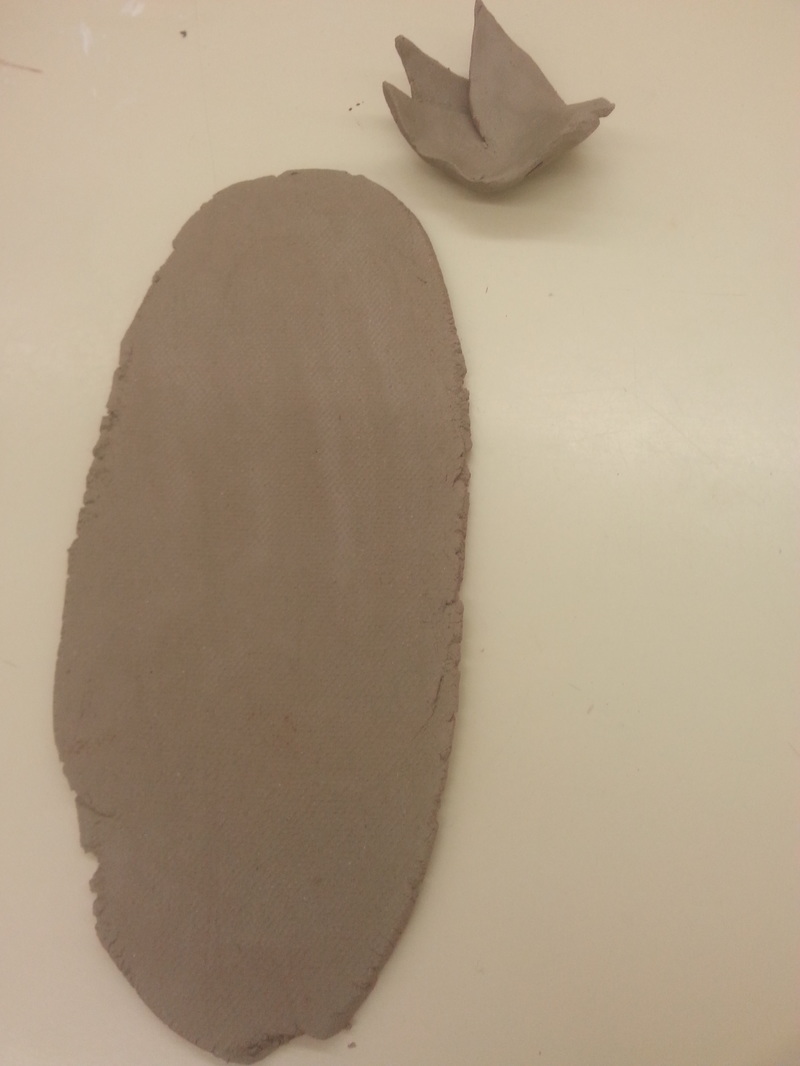
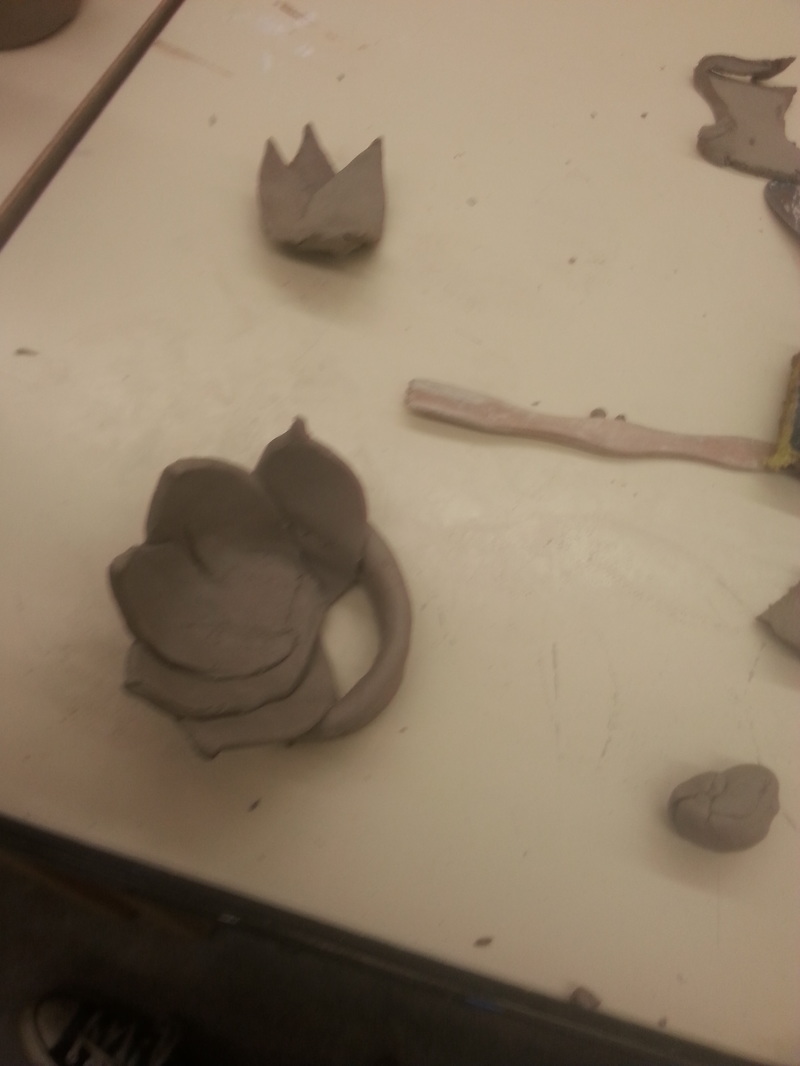
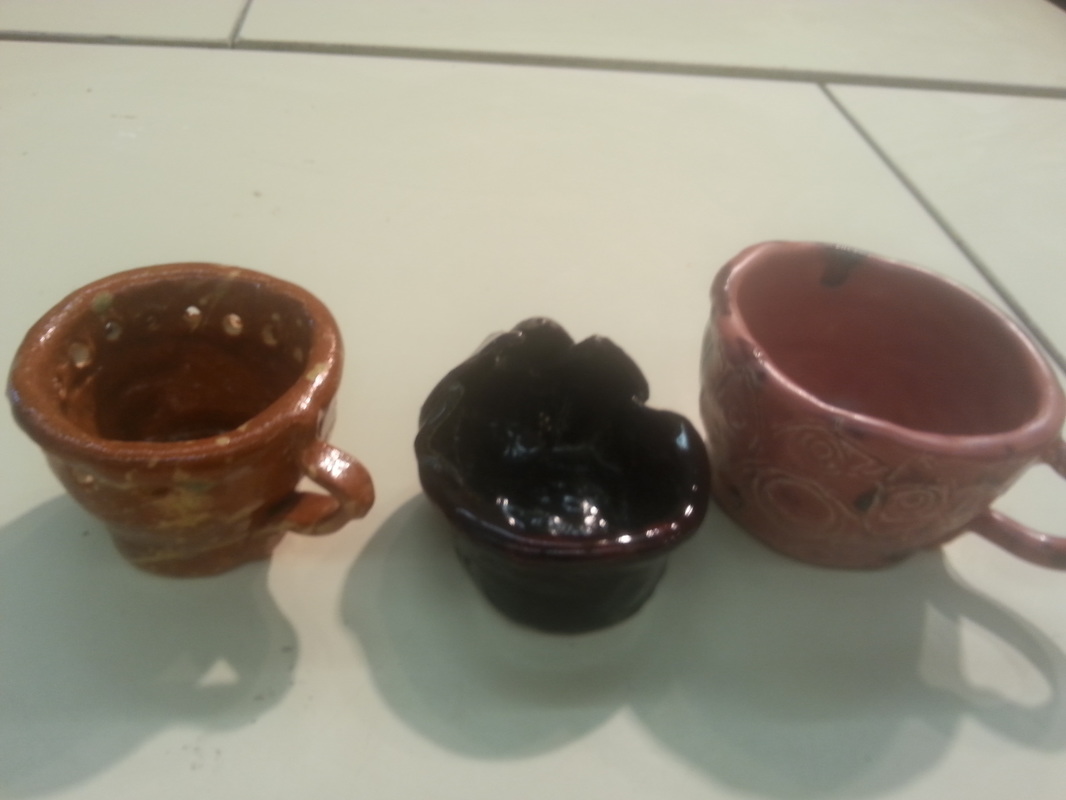
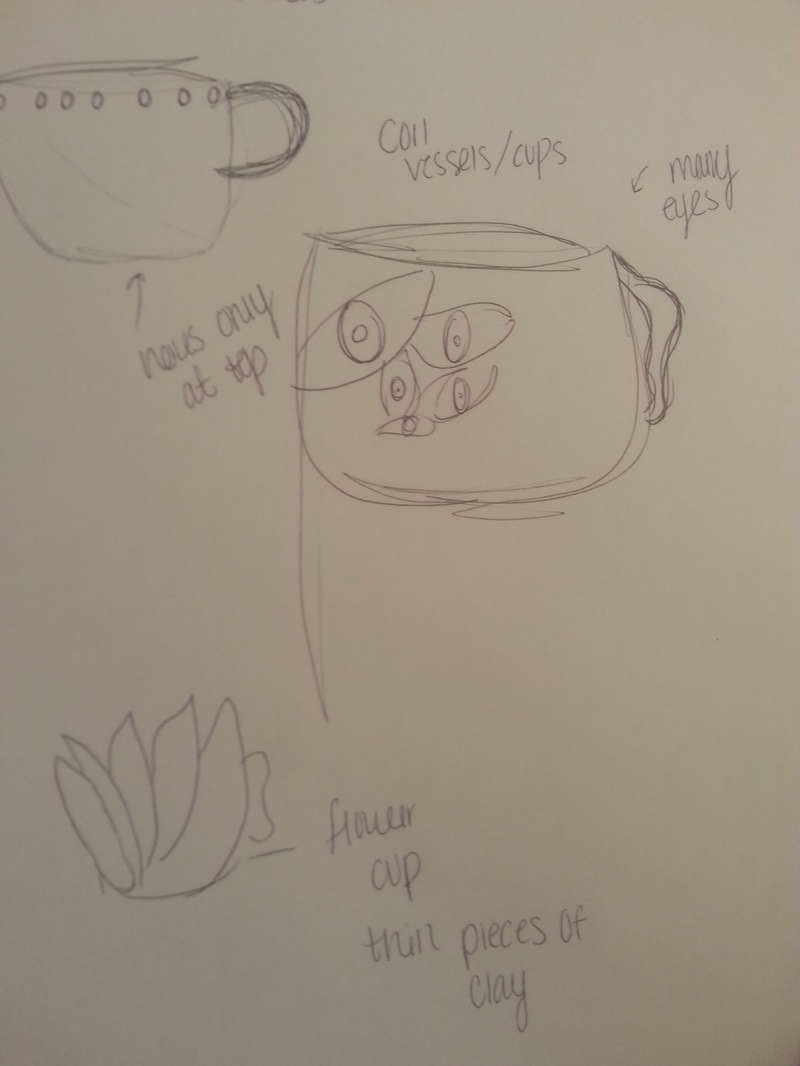
4/24/2016 0 Comments Irresistiable cups processFor my irresistible cups for the first two cups i used again the coil method, and for the third i used 3 coils and think pieces to resemble flower petals. I learned a lot while making these cups that it can become very difficult after a while, but applying news paper inside my 3 cups helped me create a more stable structure. side note: i wasn't able to get a picture of my first 2 cups before i fired them and forgot to take one before the glaze fire. so the first 2 pictures are from my 3rd flower cup. my sketches helped me a lot. because i think one of the hardest things is to sit there with a blank mind and not know what to do. and with the drawings it helped me to really achieve what i was going for with the time needed.
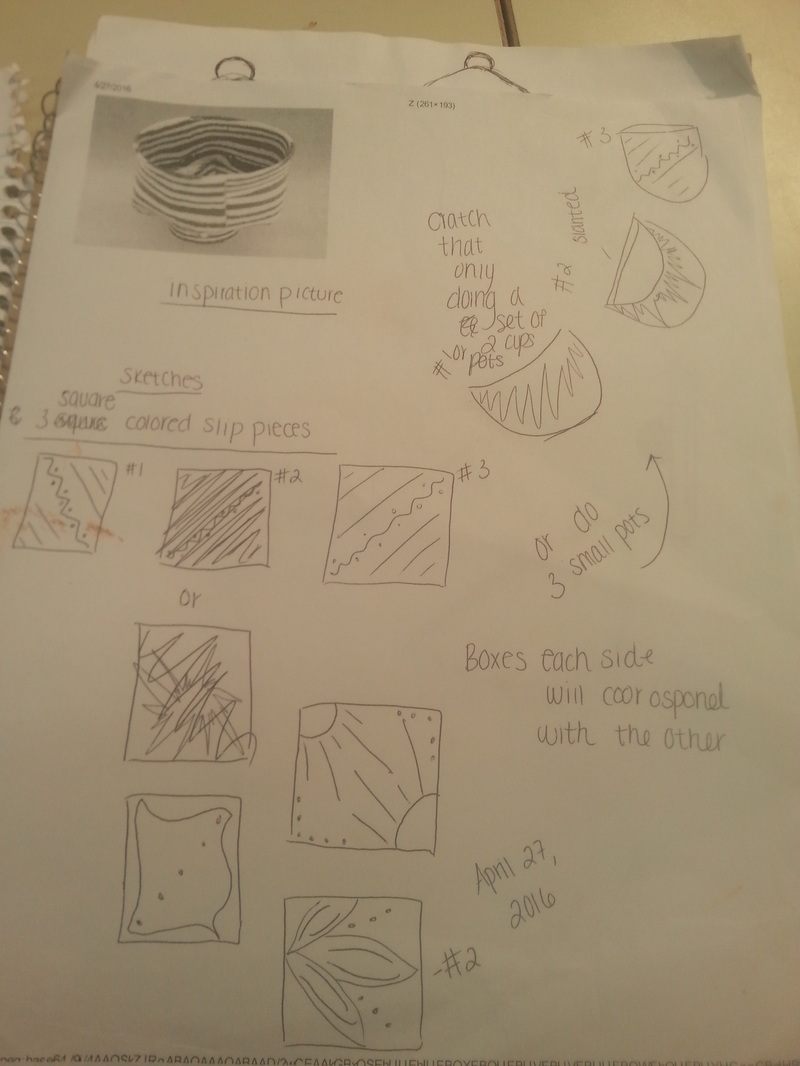
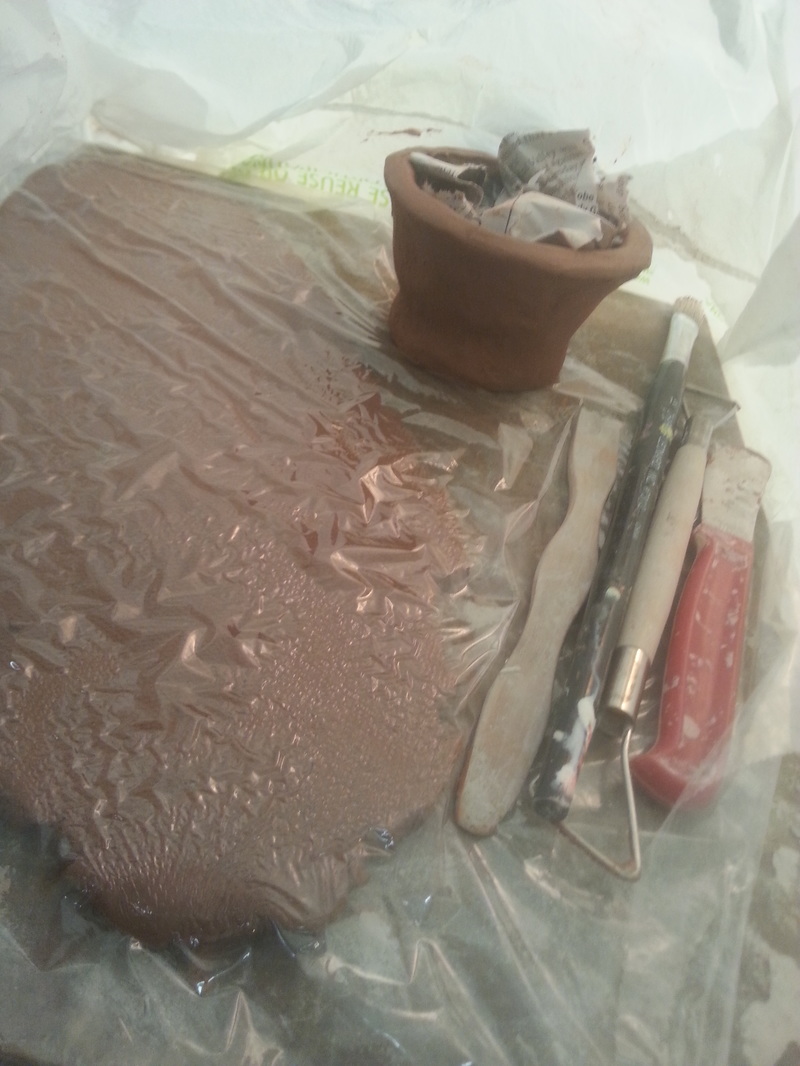
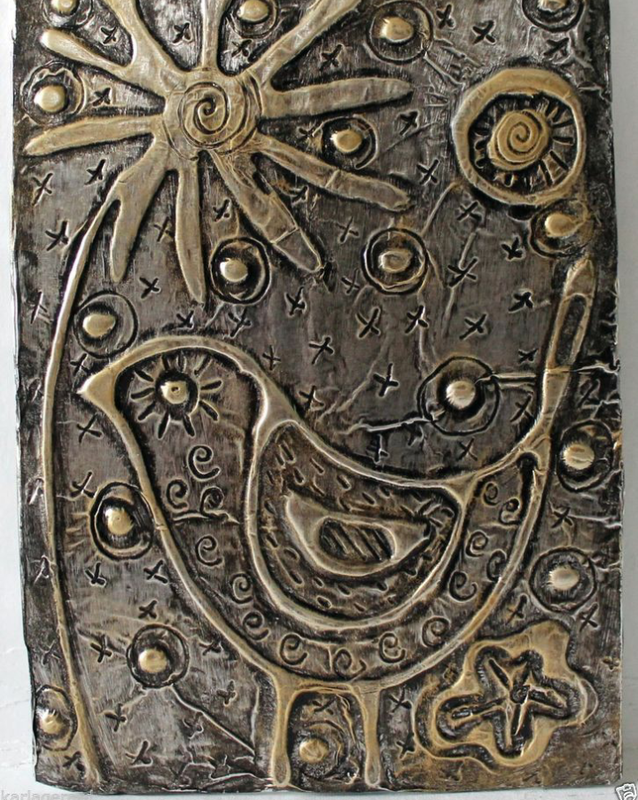
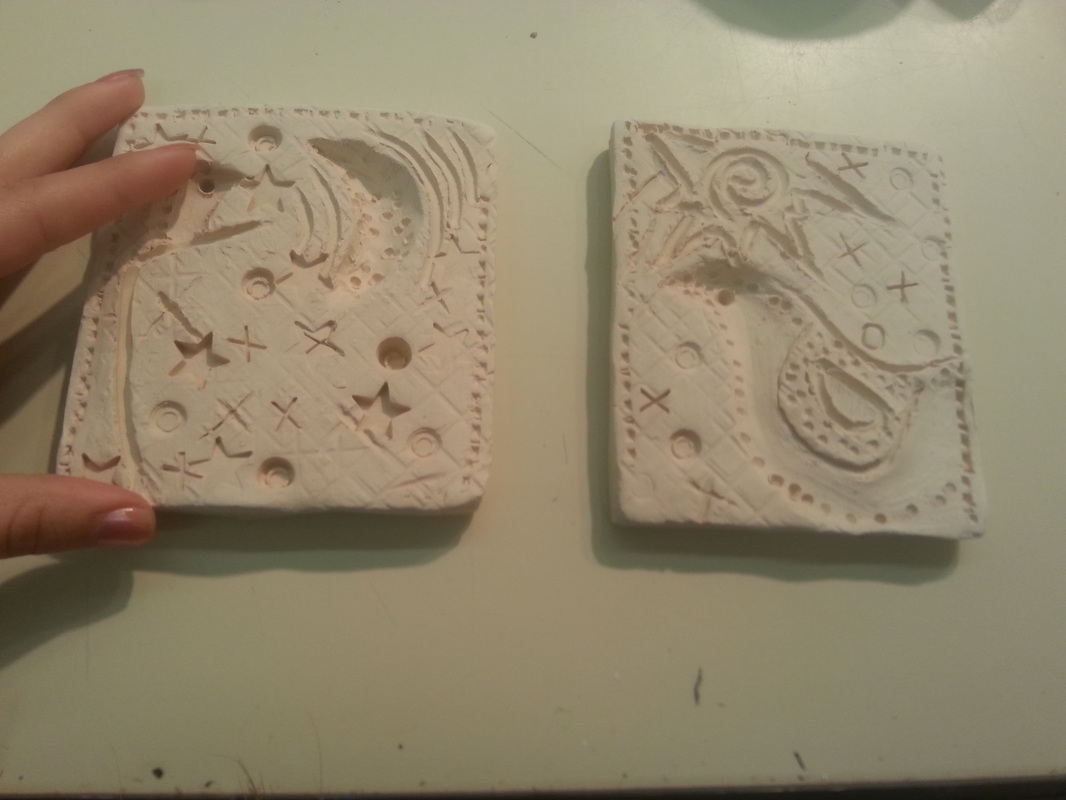
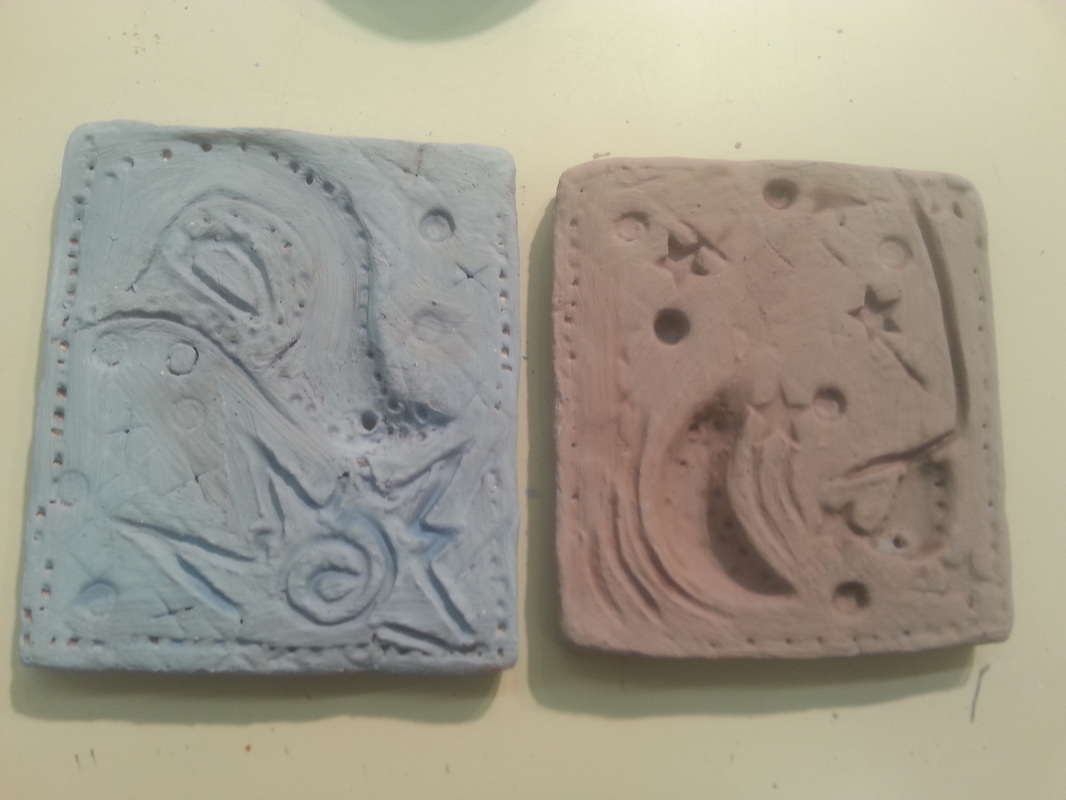
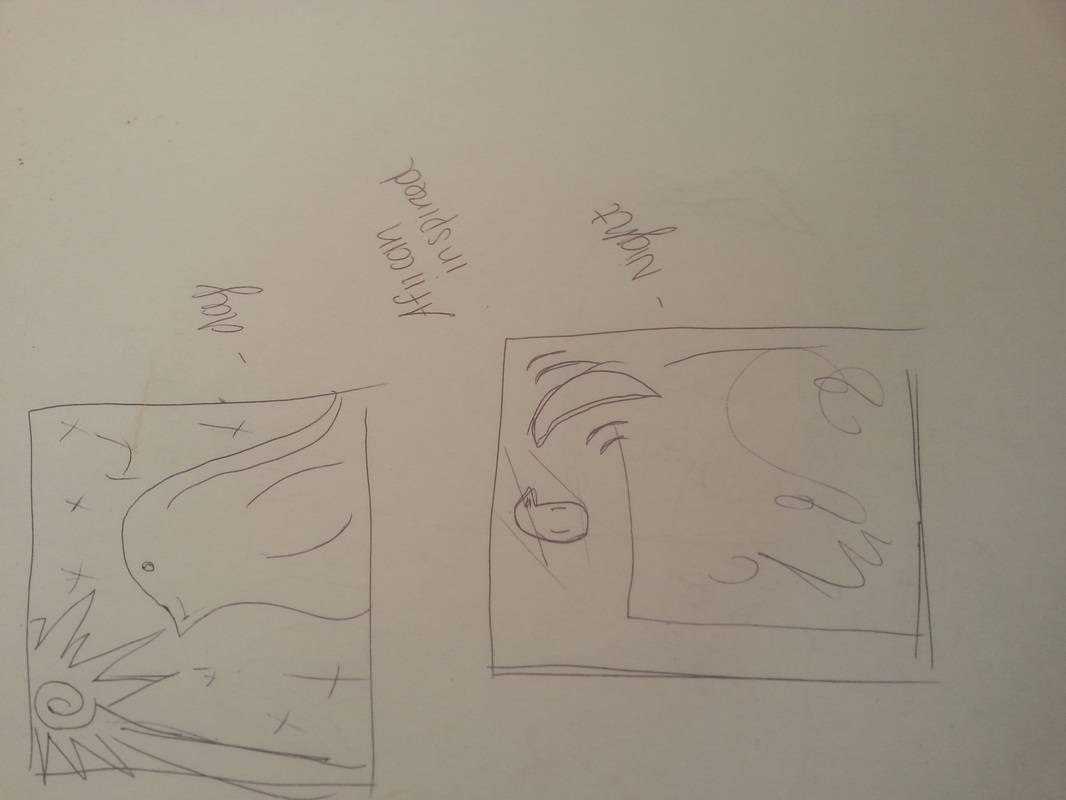
4/23/2016 0 Comments slab processFor my slab process i wedged out a chunk of clay and put that on the slab roller making sure the clay was thick enough. I then took measurements and made them at least 4 by 4 on each, next i took my sketches and inspiration pic and started to etch in my design. I learned in the process from Mrs. Maclay herself to add more pattern to my work using pencils or press in letters. All and all the project came out not to bad. my sketches kept my slabs from looking like crap cause it got hard but i figured it out thanks Mrs. Maclay.
4/10/2016 0 Comments Inprogress report In progress report of my third cup. Which i finshed, i found it to be very difficult
4/6/2016 0 Comments April 06th, 2016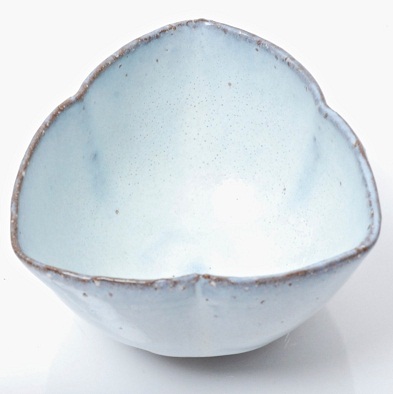 Created by Hara Kiyoshi
|
AuthorWrite something about yourself. No need to be fancy, just an overview. ArchivesCategories |


 RSS Feed
